Imagine this, fellow shrimp keeper: You’ve just set up a beautiful tank, filled with vibrant plants and lively shrimplets. But there’s a problem. Your local water supply is filled with impurities, and you can’t access RO water. What do you do? How do you ensure that the water in your tank is pure and safe for your beloved shrimp?
Why, you turn to nature, of course! With a little ingenuity and some basic household items, you can naturally purify water. It’s like giving your shrimp a taste of the wild.
I remember the days when I was a newbie shrimp keeper, staring at my tank, filled with water. The local water supply was far from ideal, and RO water was a distant dream. The challenges seemed insurmountable. How could I provide my shrimplets with the pure, clean water they deserved?
I tried various methods, faced numerous failures, and learned valuable lessons along the way. Over the course of a year, I discovered natural ways to purify water, from collecting rainwater to boiling and aging it. It was a journey filled with trials and triumphs, and it gave me a deeper connection to my shrimp and their natural habitat.
So, dear shrimpfam, buckle up! In this article, we’ll explore a budget-friendly, natural way to purify water for your aquariums. Whether you’re a seasoned shrimp keeper or just starting, you’ll find tips and tricks to make your shrimp thrive in the purest of waters.
How can rainwater be collected for aquarium use?
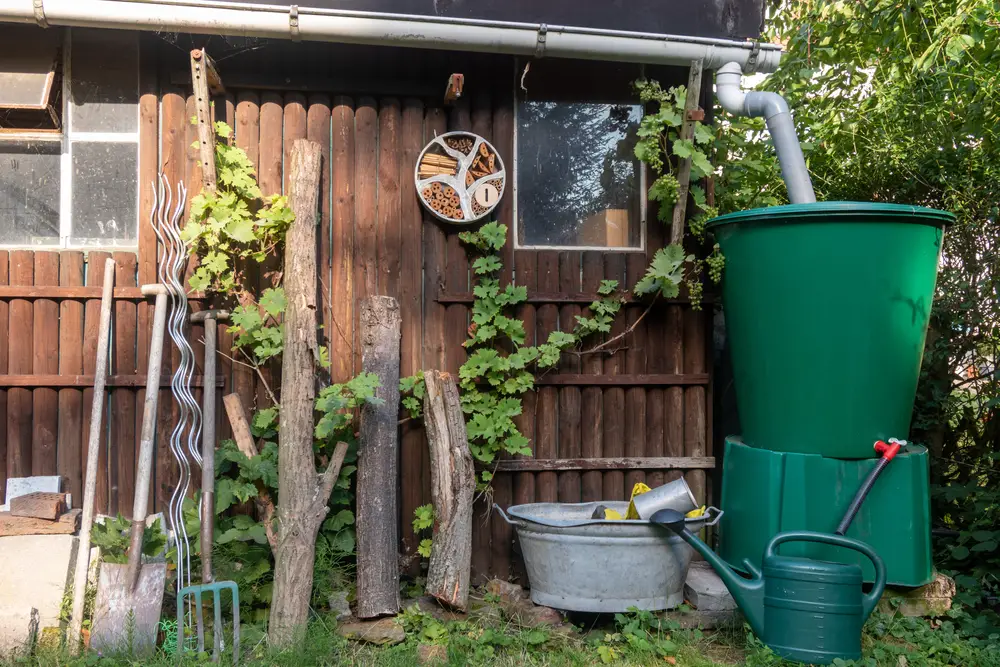
Collecting rainwater for aquarium use is a beautiful way to connect your shrimp to nature and provide them with pure, unadulterated water. It’s a practice that’s not only budget-friendly but also environmentally sustainable. But how exactly can you go about it?
First and foremost, you’ll need to find a suitable location for collecting rainwater. Ideally, this should be an open space away from pollution sources like roads or industrial areas. If clean and free from contaminants, your house’s roof can be a great spot.
Next, you’ll need to choose the right containers. Clean buckets, barrels, or specially designed rainwater harvesting systems can be used. It’s essential to ensure that the containers are free from any chemicals or substances that might harm your shrimp. A simple rinse with hot water and a non-toxic cleaner can prepare them for use.
The method of collection can vary depending on your setup. Some shrimp keepers prefer to place containers directly under the downspouts of their gutters, while others might set up a more elaborate system with pipes and filters. The key is allowing the rainwater to flow freely into the containers without picking up debris or contaminants.
Once collected, the rainwater might need some initial filtration to remove large impurities like leaves or twigs. A clean cloth or a specially designed filter can be used for this purpose. After that, further purification steps like boiling and aging might be necessary, depending on the quality of the rainwater in your area.
Collecting rainwater for aquarium use is not just about the technical aspects. It’s a mindful practice that connects you to the natural world and the water cycle. It’s about understanding the environment and taking steps to ensure that the water you provide to your shrimp is as pure and life-giving as the rain that falls from the sky.
What methods can be used to filter large impurities from water?
Filtering large impurities from water is a crucial step in ensuring that the water in your shrimp tank is clean and safe. Whether you’re using rainwater or tap water, it’s likely that the water will contain some larger particles like leaves, twigs, or sediment. These impurities need to be removed before the water can be used in an aquarium, and there are several methods to do this.
One of the simplest and most accessible methods is cloth filtration. By stretching a clean cloth or tea towel over a container and securing it with a rubber band or string, you can create a simple filter that will catch larger particles as you pour the water through.
If the cloth has been washed with detergents or conditioners, it’s a good practice to boil it first to remove any residual chemicals, then rinse it thoroughly with hot water.
A DIY sand and gravel filter can be constructed for those who want to go a step further. This involves layering sand and gravel in a container, with the gravel on the bottom and the sand on top. As the water passes through the layers, the larger particles are trapped in the gravel, while the finer ones are caught in the sand.
This method requires some experimentation and fine-tuning to get right but can be an effective way to filter large impurities.
Finally, settling is a method that takes advantage of gravity to remove large particles. By allowing the water to sit undisturbed in a container for a period, the larger impurities will settle to the bottom. The clear water can then be carefully siphoned or poured off the top, leaving the sediment behind.
Each of these methods has its advantages and drawbacks, and the best choice will depend on the specific situation and the type of water being used. What they all share, however, is the ability to remove large impurities from water, ensuring that it’s clean and safe for your shrimp.
Why is boiling water essential for aquariums?
Boiling water might seem like a simple act, but when it comes to preparing water for aquariums, it’s a significant step. Let’s explore why this age-old method of purification is essential for our beloved shrimp tanks.
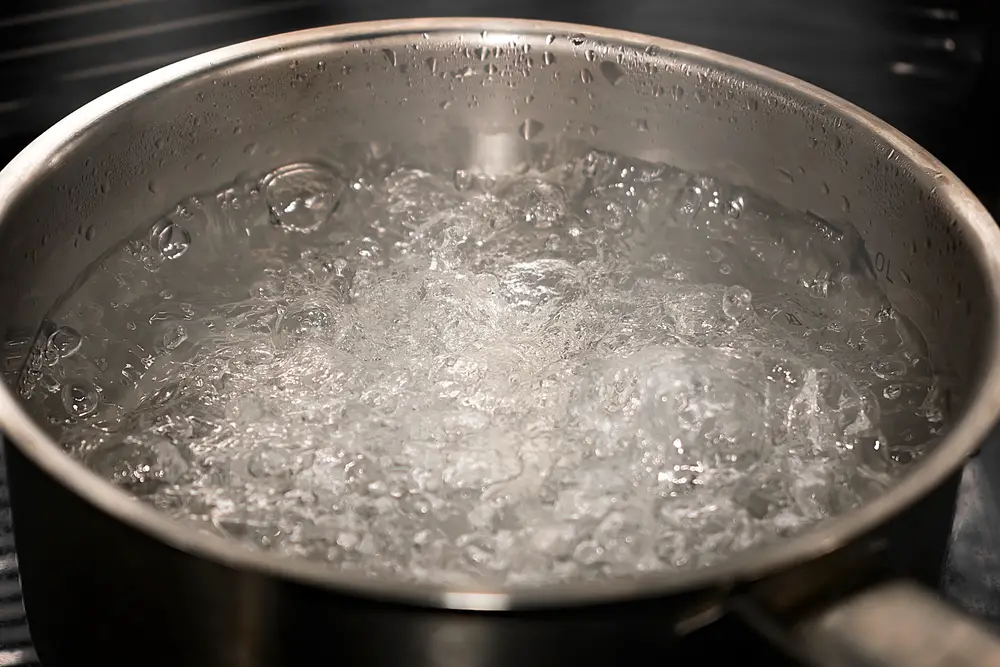
Boiling water serves as a powerful method of sterilization. When water reaches its boiling point, most of the harmful bacteria, viruses, and parasites that might be present are killed.
These microorganisms can be detrimental to the health of your shrimp, leading to diseases or even fatalities in the tank. By boiling the water, you’re ensuring that these potential threats are neutralized.
In the world of shrimp keeping, where the health and happiness of our shrimplets are paramount, boiling water is a simple yet powerful tool. It’s a step that reflects care, attention, and understanding of the delicate balance that sustains life in an aquarium.
So, next time you’re preparing rainwater for your shrimp tank, remember the humble act of boiling. It’s more than just heating water; it’s a purification ritual, a safeguard for your shrimp, and a connection to the ancient wisdom of water stewardship. Keep those bubbles rolling, shrimp nation, for they are the guardians of purity in your aquatic haven!
How does aging and aerating water benefit shrimp?
Aging and aerating water might sound like a complex process, but in the world of shrimp keeping, it’s a practice that holds significant benefits. Let’s dive into the gentle art of aging and aerating water and discover how it can create a thriving environment for our shrimplets.
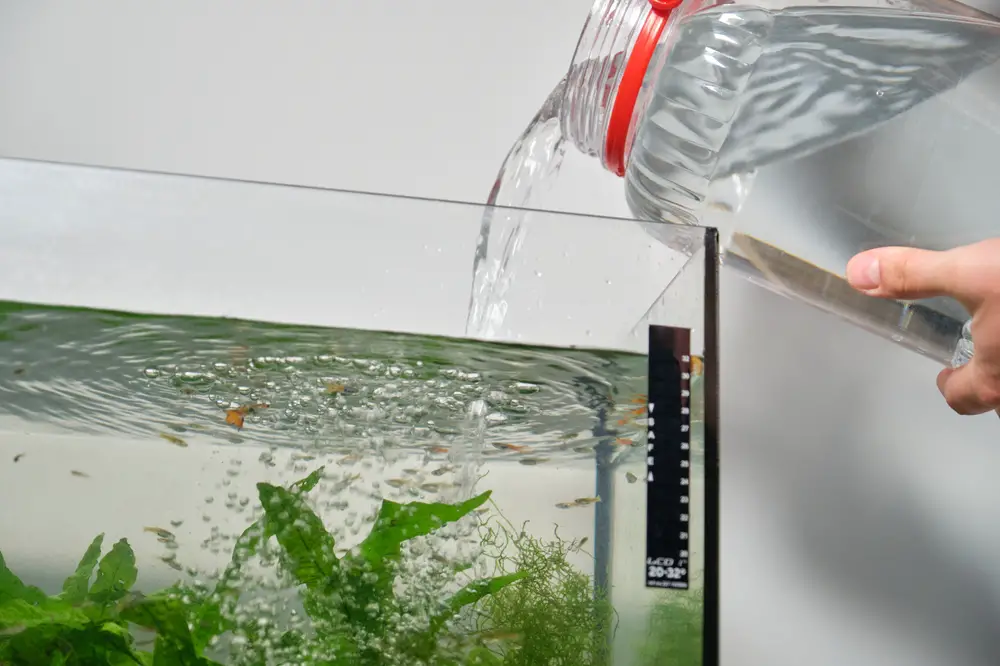
Aging water is the process of letting it sit in an open container for a specific period, usually 24 to 48 hours. During this time, several essential changes occur..
Aerating the water involves exposing it to air, often by using an aquarium air pump or simply by letting it sit in an open container where it can interact with the atmosphere. Aeration helps to increase the oxygen levels in the water, which is crucial for the shrimp’s respiration. More oxygen means happier, more active shrimp.
But the benefits of aging and aerating water go beyond just removing chemicals and adding oxygen. These processes also help stabilize the water’s pH and temperature, making it more consistent with the conditions inside the aquarium. Sudden changes in pH or temperature can stress shrimp, leading to health problems.
By aging and aerating the water, you’re ensuring that it’s more in tune with the shrimp’s natural environment.
The combination of aging and aerating water creates a holistic approach to water preparation. It’s not just about making the water safe; it’s about enhancing its quality, aligning it with the natural needs of the shrimp, and creating a harmonious environment where they can thrive.
This section was written with all water types in mind and not just thoughts on rainwater, aging water is something you should do regardless of the water source because its very beneficial to your shrimp if you make good practice of this.

Conclusion: A Budget-Friendly Natural Way to Purify Water for Aquariums
In summary, purifying aquarium water doesn’t have to be complex or expensive. By embracing natural methods like collecting rainwater, filtering large impurities, boiling, and aging and aerating the water, you can provide your shrimp with the pure, clean environment they deserve.
These practices ensure the health and happiness of your shrimp and connect you to the natural world and the timeless wisdom of water stewardship.
Ultimately, it’s about understanding the essence of water and the needs of your shrimp, and taking simple, mindful steps to create a thriving aquatic haven. Whether you’re a seasoned shrimp keeper or just starting, these budget-friendly methods are accessible, effective, and filled with love and care.
Please don’t hesitate to reach out if you need any help or have questions about these methods. If you can’t find me here, check out Aquarium Shrimp Keeping on Facebook.
Happy Shrimp Keeping, shrimpfam!
Related FAQ Section
Q. How do you purify water from a rainwater tank?
A. Purifying water from a rainwater tank involves several steps, including filtering large impurities using a cloth or commercial filter, boiling the water to kill microorganisms, and aging it to allow harmful chemicals to evaporate. Additional filtration or treatment may be necessary depending on the quality of the rainwater.
Q. Can you put rain water in an aquarium?
A. Yes, rainwater can be used in an aquarium, but it must be properly collected and purified first. This includes filtering out large impurities, boiling to sterilize, and aging to stabilize the pH and temperature. Rainwater can provide a natural and chemical-free environment for shrimp when handled with care.
Q. Can you purify rainwater to drink?
A. While this article focuses on purifying rainwater for aquarium use, rainwater can also be purified for drinking with proper treatment. This usually involves filtration to remove impurities, boiling or using other sterilization methods to kill pathogens, and possibly additional treatments to remove chemicals or heavy metals.
Q. Is rainwater good for freshwater aquarium?
A. Rainwater can be an excellent choice for freshwater aquariums, especially for shrimp, as it is free from many of the chemicals found in tap water. However, it must be collected and purified properly to ensure it is safe and suitable for aquarium use.
Q. Should you filter rain water?
A. Filtering rainwater is an essential step in preparing it for aquarium use. It helps remove large impurities like leaves and twigs, and it may also be necessary to filter out smaller particles or contaminants depending on the quality of the rainwater.
Q. How long do I boil rain water?
A. Boiling rainwater for a few minutes is usually sufficient to kill most harmful microorganisms. It also helps in evaporating chemicals like chlorine. The exact time may vary depending on the source and quality of the rainwater, but a general guideline is to boil it for at least 3 to 5 minutes.