Yes, you absolutely need to cycle a planted tank for shrimp . Cycling establishes a healthy bacterial colony in the tank, which is crucial for maintaining water quality and ensuring the survival and health of your shrimp.
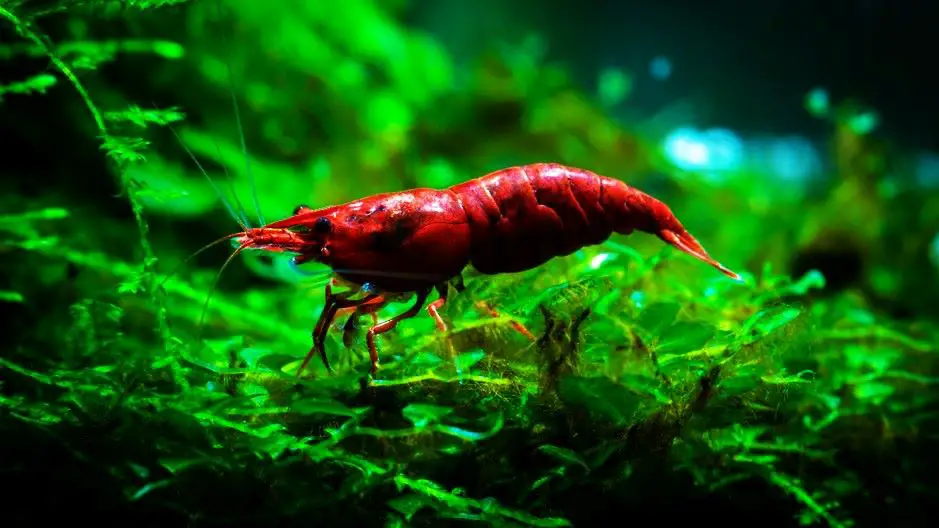
As a seasoned shrimp keeper, I’ve spent countless hours observing these fascinating creatures in their underwater world. I remember the first time I set up a planted tank for my shrimp, about 20 years ago.
I was eager to create a lush, green environment for them, but I soon realized that it involved more than just planting and adding water. The concept of cycling a tank was new to me, but it quickly became apparent how crucial it was.
Over the years, I’ve learned through trial and error, and now I’m here to share my insights with you. In this article, we’ll delve into the importance of cycling a planted tank for shrimp, the process involved, and some tips to make it easier.
Importance of Cycling a Planted Tank for Shrimp
Cycling a planted tank for shrimp is not just a recommendation, it’s a necessity. The process of cycling, also known as nitrogen cycling, is essentially the establishment of beneficial bacteria in your tank. These bacteria are the unsung heroes of a thriving shrimp habitat, working behind the scenes to maintain a healthy environment for your shrimp.
Shrimp, like all aquatic creatures, produce waste. This waste, along with any uneaten food, breaks down into ammonia, which is highly toxic to shrimp. In an uncycled tank, this ammonia will build up, leading to poor water quality and potentially fatal conditions for your shrimp. This is where the beneficial bacteria come into play. They convert this harmful ammonia into nitrites, and then into nitrates, which are less toxic and can be absorbed by the plants in your tank.
Cycling a tank also helps stabilize the water parameters, such as pH, temperature, and hardness, creating a more consistent and suitable environment for your shrimp. Shrimp are sensitive creatures and sudden changes in water parameters can cause stress, disease, and even death.
Moreover, cycling a planted tank allows the plants to establish themselves and start growing properly. Plants play a crucial role in a shrimp tank, providing shelter, food, and contributing to the overall water quality by absorbing nitrates and releasing oxygen.
In essence, cycling a planted tank for shrimp is all about creating a balanced, self-sustaining ecosystem. It’s a process that requires patience, but the reward is a healthy, vibrant tank that your shrimp will thrive in.
Process of Cycling a Planted Tank
Cycling a planted tank is a process that requires patience and careful monitoring, but it’s not overly complicated once you understand the steps involved. Here’s a detailed look at how to cycle a planted tank for shrimp.
- Set Up Your Tank: Start by setting up your tank with substrate, plants, and any other decor you want to include. Fill the tank with dechlorinated water. The chlorine found in tap water can kill beneficial bacteria, so it’s important to use a water conditioner to remove it.
- Start the Nitrogen Cycle: The next step is to kickstart the nitrogen cycle. This can be done by adding a source of ammonia to the tank. This could be in the form of fish food, a piece of raw shrimp, or a pure ammonia solution. The goal is to maintain an ammonia level of about 2-4 ppm (parts per million).
- Monitor Your Water Parameters: Once the ammonia source is added, you’ll need to start testing your water regularly. You’re looking for the ammonia levels to rise and then fall, followed by a rise and fall in nitrite levels. This indicates that the beneficial bacteria are establishing themselves and doing their job. You can use a water testing kit to monitor these levels.
- Wait for the Cycle to Complete: This is the part that requires patience. The cycling process can take anywhere from 2 to 6 weeks, sometimes longer. It’s important not to rush this process. Adding shrimp too early can expose them to harmful levels of ammonia and nitrites.
- Perform a Water Change: Once your tank is fully cycled (ammonia and nitrite levels are at 0 and nitrate levels are under 20 ppm), it’s recommended to do a large water change (about 50%) to further reduce nitrate levels before adding your shrimp.
- Add Your Shrimp: Finally, you can add your shrimp to the tank. It’s best to do this slowly, acclimating them to the new water conditions to avoid shock.
Role of Beneficial Bacteria in a Shrimp Tank
Beneficial bacteria are the unsung heroes of any shrimp tank. They are the invisible workforce that keeps the water safe and healthy for your shrimp. Understanding their role is crucial to maintaining a thriving shrimp habitat.
The primary role of beneficial bacteria in a shrimp tank is to break down waste. Shrimp, like all aquatic creatures, produce waste. This waste, along with any uneaten food, decomposes and releases ammonia into the water. Ammonia is highly toxic to shrimp, even in small amounts. This is where the beneficial bacteria come in.
There are two main types of beneficial bacteria in a shrimp tank: Nitrosomonas and Nitrobacter. Nitrosomonas bacteria convert the harmful ammonia into nitrites. While nitrites are also toxic to shrimp, they are the necessary second step in the nitrogen cycle. Nitrobacter bacteria then convert these nitrites into nitrates, which are far less toxic and can be absorbed by the plants in your tank.
These bacteria live in your filter and substrate, and to a lesser extent, on the surfaces of decorations and plants in your tank. They require oxygen to survive, which is why good water circulation and aeration are important in a shrimp tank.
In addition to their role in the nitrogen cycle, beneficial bacteria also compete with harmful bacteria for resources, helping to keep the bad guys in check and prevent disease outbreaks.
In essence, beneficial bacteria are the backbone of a healthy shrimp tank. They work tirelessly to keep the water clean and safe for your shrimp, making them an essential part of any shrimp keeper’s toolkit.
Time Frame for Cycling a Planted Tank
The time frame for cycling a planted tank can vary greatly depending on several factors, including the method used to start the cycle, the temperature of the water, and the specific conditions of your tank. However, as a general rule, you can expect the cycling process to take anywhere from 2 to 6 weeks.
The first stage of the cycle, where ammonia is converted into nitrites by Nitrosomonas bacteria, typically starts within the first week. You’ll see a spike in ammonia levels, followed by a gradual decrease as the nitrite levels start to rise.
The second stage, where nitrites are converted into nitrates by Nitrobacter bacteria, usually begins in the second or third week. Again, you’ll see a spike in nitrite levels, followed by a decrease as the nitrate levels start to rise.
By the fourth week, if all goes well, both ammonia and nitrite levels should be close to zero, while nitrate levels should be detectable but not excessively high (below 20 ppm). This is a sign that your tank is fully cycled and ready for shrimp.
It’s important to note that these are general guidelines and the exact timing can vary. Some tanks may cycle faster, while others may take longer. Factors that can speed up the process include higher water temperatures (beneficial bacteria reproduce faster in warm water), adding a bacteria starter culture, or using filter media from an established tank.
Patience is key during the cycling process. It can be tempting to add shrimp as soon as you see the ammonia levels start to drop, but it’s crucial to wait until the cycle is fully complete to ensure a safe and healthy environment for your shrimp.
Signs of a Successfully Cycled Tank
Recognizing the signs of a successfully cycled tank is crucial before introducing your shrimp to their new home. Here are the key indicators that your tank has completed its nitrogen cycle:
- Zero Ammonia and Nitrite Levels: The most definitive sign of a cycled tank is the absence of ammonia and nitrites. These substances are toxic to shrimp and should be completely converted into nitrates by the end of the cycling process. You can test for these using a water testing kit.
- Presence of Nitrates: While ammonia and nitrites should be at zero, you should be able to detect nitrates in your water. Nitrates are the end product of the nitrogen cycle and are far less toxic to shrimp. They can be absorbed by the plants in your tank or removed through water changes.
- Stable pH Levels: A cycled tank should have stable pH levels. Fluctuating pH can be a sign of an incomplete cycle or other issues in the tank. Shrimp prefer slightly acidic to neutral pH levels, but stability is more important than the exact number.
- Healthy Plant Growth: If your tank is planted, another good sign of a cycled tank is healthy plant growth. Plants can struggle in uncycled tanks due to unstable water conditions and high levels of toxins. If your plants are thriving, it’s a good indication that your tank is cycled.
- Clear Water: Finally, a cycled tank should have clear water. Cloudy water can be a sign of a bacterial bloom, which often occurs in the early stages of cycling. Once the cycle is complete, the water should clear up.
Common Mistakes to Avoid When Cycling a Tank
Cycling a tank is a crucial step in setting up a healthy environment for your shrimp. However, it’s also a process that’s rife with potential pitfalls. Here are some common mistakes to avoid when cycling a tank:
- Rushing the Process: One of the most common mistakes is trying to rush the cycling process. It’s understandable to be eager to add your shrimp to their new home, but adding them too soon can expose them to harmful levels of ammonia and nitrites. Patience is key. Wait until your tank is fully cycled before adding your shrimp.
- Not Testing the Water Regularly: Another common mistake is neglecting to test the water regularly. Testing your water is the only way to track the progress of your cycle and ensure that the conditions are safe for your shrimp. Invest in a good water testing kit and use it regularly.
- Overfeeding: If you’re using fish food to start your cycle, be careful not to overfeed. Too much food can cause ammonia levels to spike too high, which can stall the cycle and lead to poor water quality.
- Not Using a Water Conditioner: Tap water often contains chlorine, which can kill beneficial bacteria and stall your cycle. Always use a water conditioner to remove chlorine before adding water to your tank.
- Ignoring Temperature and pH: Beneficial bacteria thrive in warm water with a slightly acidic to neutral pH. Ignoring these factors can slow down your cycle or prevent it from completing.
- Overcleaning: While it’s important to keep your tank clean, overcleaning during the cycling process can remove beneficial bacteria and stall your cycle. Avoid cleaning your filter or changing too much water at once during the cycle.
Tips for Cycling a Planted Tank for Shrimp
Cycling a planted tank for shrimp can seem like a daunting task, especially if you’re new to the hobby. However, with a little knowledge and patience, it’s a process that can be successfully navigated. Here are some tips to help you cycle your planted tank for shrimp:
- Use a Bacteria Starter: A bacteria starter can help kickstart the cycling process by introducing beneficial bacteria into your tank. This can help speed up the cycle and ensure a healthy bacterial colony is established.
- Maintain a Consistent Temperature: Beneficial bacteria thrive in warm temperatures. Try to maintain a consistent temperature in your tank to encourage bacterial growth. A heater can help with this, especially in cooler climates.
- Monitor Your Water Parameters Regularly: Regular testing is crucial during the cycling process. It’s the only way to track the progress of your cycle and ensure the conditions in your tank are safe for shrimp. Invest in a good water testing kit and use it regularly.
- Be Patient: Cycling a tank takes time. It can be tempting to rush the process, but patience is key. Wait until your tank is fully cycled before adding your shrimp to ensure a safe and healthy environment.
- Perform Regular Water Changes: Once your tank is cycled, regular water changes are important to maintain water quality. This helps keep nitrate levels in check and provides a fresh supply of minerals for your shrimp.
- Use Filter Media from an Established Tank: If you have access to an established tank, using some of its filter media in your new tank can help speed up the cycling process. The established media is already populated with beneficial bacteria, giving your cycle a head start.
Remember, the goal of cycling a tank is to establish a healthy, balanced ecosystem for your shrimp. With patience, regular monitoring, and a little help from beneficial bacteria, you can create a thriving habitat for your shrimp to enjoy.
Exception: A Heavily Planted Tank with No Substrate
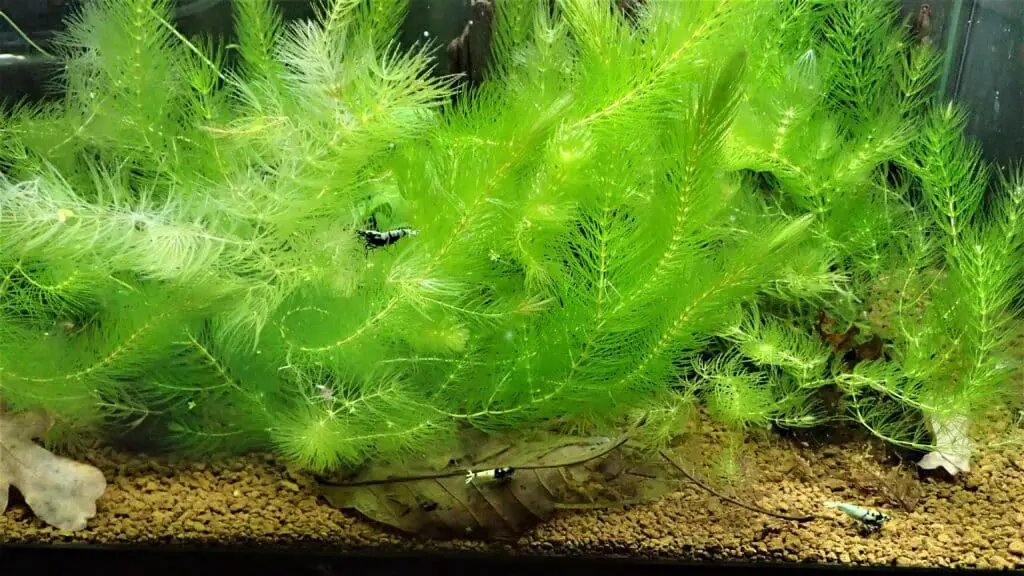
While the process of cycling a tank is generally a crucial step in setting up a healthy environment for shrimp, there is an exception to this rule. A tank that has no substrate and is heavily planted with fast-growing aquatic plants may not require the traditional cycling process.
In this type of setup, the plants play a pivotal role in maintaining water quality. Aquatic plants, especially fast-growing species, are incredibly efficient at absorbing waste products, including ammonia, nitrites, and nitrates. They essentially act as natural filters, taking up harmful substances directly from the water and using them for growth.
When a tank is densely planted, the plants can absorb the ammonia produced by the shrimp before it can build up to toxic levels. This means that even in the absence of the beneficial bacteria that usually handle this task, the water remains safe for the shrimp.
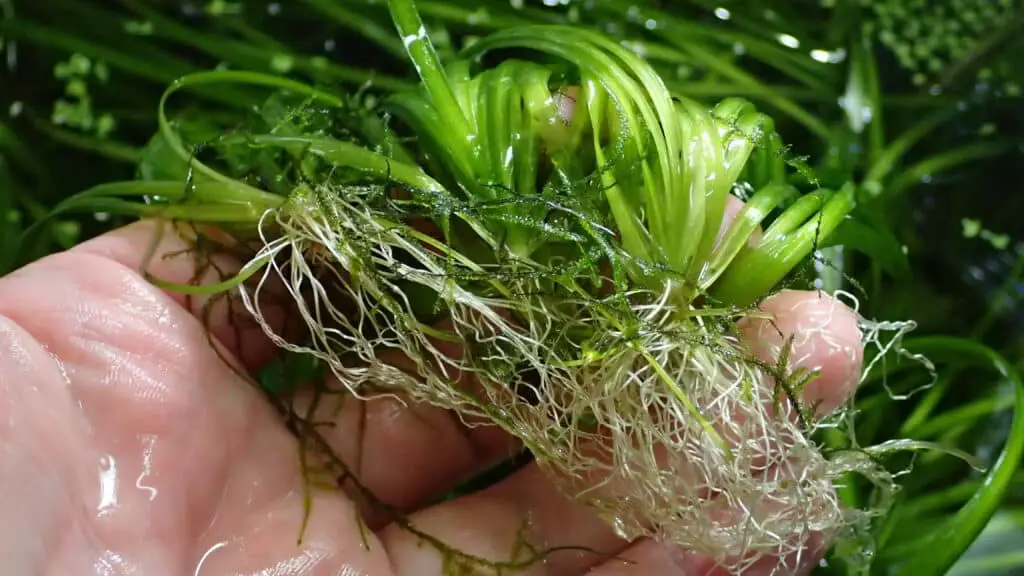
However, it’s important to note that this approach requires a careful balance. The plant mass must be sufficient to absorb all the waste produced by the shrimp. If the shrimp population is too large, or the plant mass too small, the plants may not be able to keep up, leading to a buildup of harmful substances.
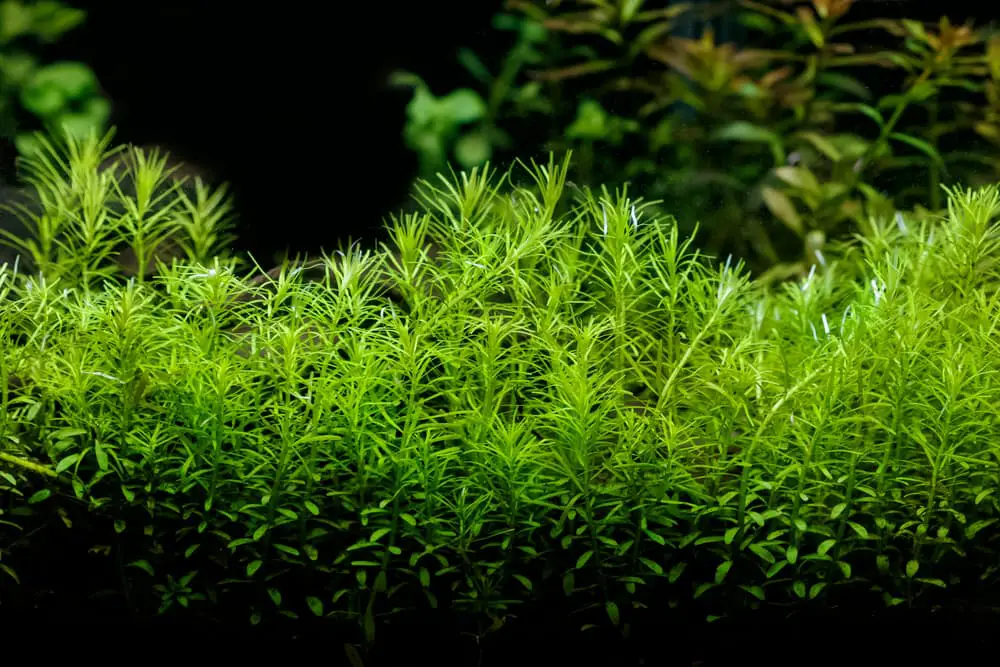
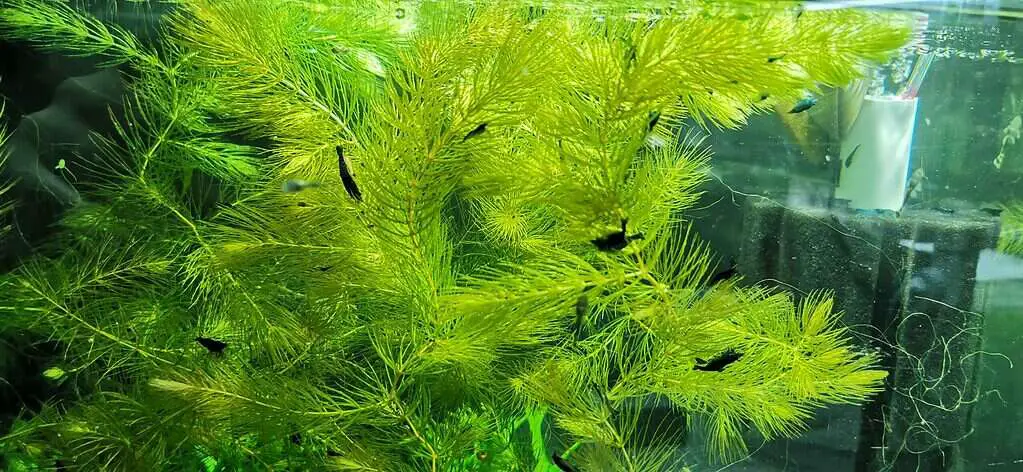
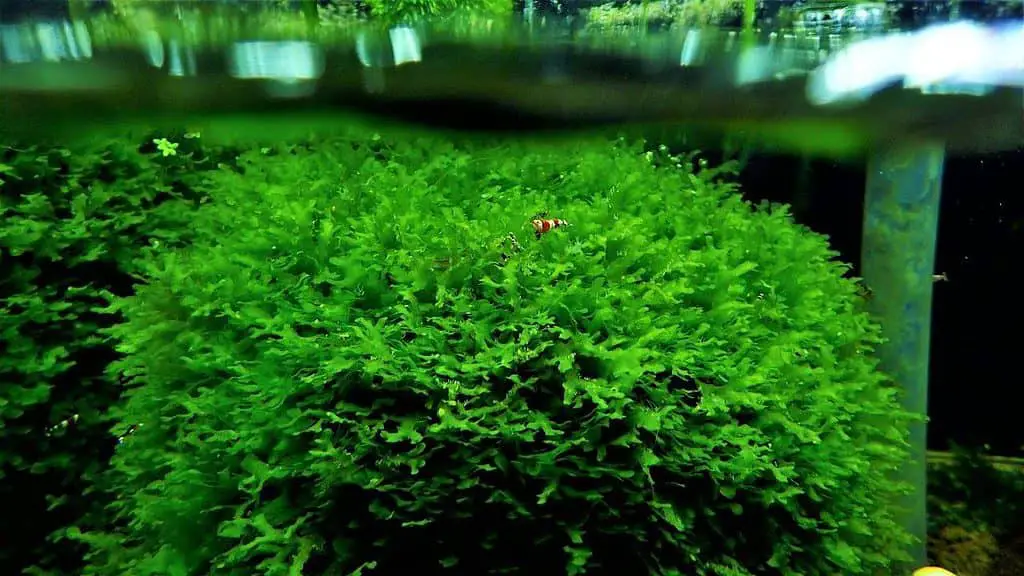
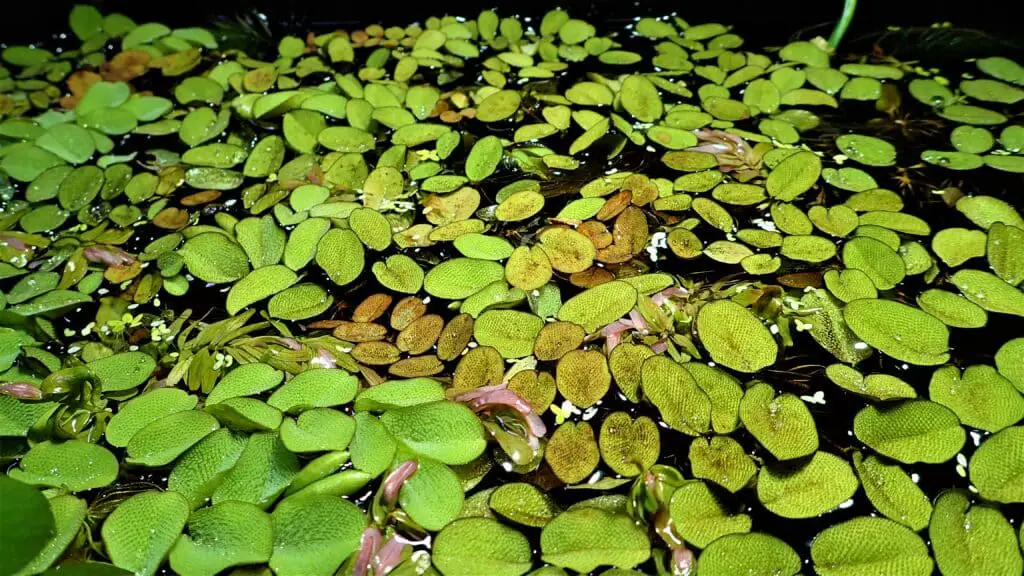
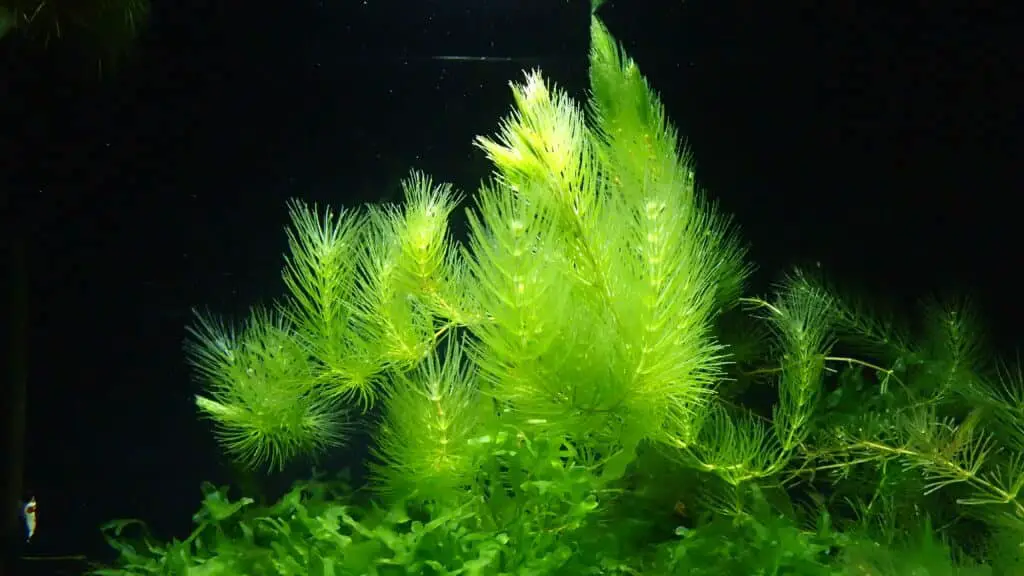
Additionally, this approach requires careful plant selection. Not all aquatic plants are equally efficient at absorbing waste. Fast-growing species, such as hornwort, duckweed, and water sprite, are generally the most effective.
Finally, regular water testing is still important even in a heavily planted tank. This will allow you to monitor the water conditions and ensure that the plants are effectively managing the waste. If ammonia or nitrite levels start to rise, it may be a sign that the plants are overwhelmed and additional action is needed.
While a heavily planted tank with no substrate can be an exception to the usual cycling process, it requires careful management and monitoring to ensure a healthy environment for your shrimp.
Conclusion
cycling a planted tank for shrimp is a crucial process that establishes a healthy bacterial colony, stabilizes water parameters, and prepares the tank for the introduction of shrimp. It involves patience and regular monitoring of water conditions, but the reward is a thriving, balanced ecosystem for your shrimp.
While there is an exception to this rule in the form of heavily planted tanks with no substrate, this setup requires careful management and plant selection to ensure the plants can effectively handle the waste produced by the shrimp.
Whether you’re setting up a traditional planted tank or a heavily planted, substrate-free setup, remember that the goal is to create a safe and healthy environment for your shrimp. Regular water testing and careful observation of your shrimp and plants will help you maintain this balance.
If you need any help or have any questions along the way, please don’t hesitate to reach out.
Happy Shrimp Keeping!
FAQ
Q. Does a planted tank need to be cycled? A. Yes, a planted tank needs to be cycled before adding shrimp. The cycling process establishes a colony of beneficial bacteria that convert harmful waste products into less toxic substances, creating a safe environment for the shrimp.
Q. Can shrimp survive in an uncycled tank? A. Shrimp are sensitive to water conditions and generally do not fare well in an uncycled tank. The buildup of toxic substances like ammonia and nitrites in an uncycled tank can cause stress, disease, and even death in shrimp.
Q. When can you add shrimp to a new planted tank? A. You can add shrimp to a new planted tank once it has been fully cycled. This typically takes anywhere from 2 to 6 weeks. The key indicators of a cycled tank are zero levels of ammonia and nitrites, and the presence of nitrates.
Q. Can plants survive in an uncycled tank? A. Yes, plants can survive in an uncycled tank. In fact, they can even help with the cycling process by absorbing ammonia, nitrites, and nitrates. However, they will thrive better in a cycled tank with stable water conditions.
Q. How do you tell if a planted tank is cycled? A. A planted tank is cycled when the levels of ammonia and nitrites are zero, and nitrates are present but not excessively high. Other signs include stable pH levels, clear water, and healthy plant growth.
Q. Can I put aquatic plants in an uncycled tank? A. Yes, you can put aquatic plants in an uncycled tank. They can help with the cycling process by absorbing harmful substances and providing surfaces for beneficial bacteria to colonize.
Q. Is a fishless cycle necessary? A. A fishless cycle is recommended for setting up a new tank. This method involves cycling the tank without any livestock, which prevents any animals from being exposed to harmful levels of ammonia and nitrites.
Q. Can a tank cycle in a week? A. While it’s possible for a tank to start showing signs of cycling within a week, the full process usually takes longer, typically 2 to 6 weeks. The exact timing can vary depending on several factors, including the method used to start the cycle and the specific conditions of your tank.
Q. How do you cycle a tank in 24 hours? A. Cycling a tank in 24 hours is generally not possible using traditional methods. The process of establishing a healthy bacterial colony takes time. However, using bacteria starters or filter media from an established tank can help speed up the process, although it still usually takes at least a few days to a week.