Hello, shrimpfam! Today, I’ll guide you through an advanced setup tailored for Bee shrimp, particularly Taiwan Bees. This guide will cover each step in detail, from choosing the soil to maintaining the perfect environment.

Choosing the Right Soil
Choosing the appropriate soil is a critical decision in setting up a Bee shrimp tank. While there are many good soils available on the market, each with its unique benefits, my personal preference leans towards ADA Amazonia Version 1 for several reasons.
Why ADA Amazonia Version 1?
- Optimal pH Levels: This soil is specifically designed to create an acidic environment, which is ideal for Bee shrimp. It helps in maintaining the pH at levels conducive for the health and breeding of these shrimp.
- Rich Nutrient Content: ADA Amazonia is packed with essential nutrients that not only support plant growth but also contribute to the overall health of the shrimp.
- Longevity and Consistency: The quality and consistency of this soil have been proven over time, making it a reliable choice for shrimp keepers.
- Identification: To ensure you’re getting the original and most beneficial version, look for bags with gold writing. This indicates the original ADA Amazonia, which is known for its superior quality.
Note as of 19.12.23 ADA v1 has been discontinued.
Other Soils in the Market
- Variety of Options: It’s worth noting that the market offers a range of soils, each suited for different types of shrimp and tank setups. Depending on your specific requirements, such as tank size, shrimp species, and planting needs, other soils might be a better fit.
- Personal Preference: The choice of soil often comes down to personal preference and experience. While I recommend ADA Amazonia Version 1 for its consistent results and suitability for Bee shrimp, exploring other options based on your tank’s needs can also lead to success.
The soils I have used that have worked are as follows.
Master Soil
Tropica plant soil
Help Advanced Plant Soil
ADA V2
Akadama Bonsai soil
Platinum soil
Japan soil
SL-Aqua Nature Soil
Benibachi Black Soil
Soils that have not worked.
Shrimp King soil
Shirakura Red Bee sand
Fluval Stratum

Rice Bran Layer
Introducing rice bran at the base of the tank is a game-changer. This organic material is crucial for fostering beneficial microbial communities and serves as a natural source of nutrients.
Benefits of Rice Bran
- Microbial Growth: Rice bran promotes the growth of beneficial bacteria and fungi, essential for a healthy shrimp ecosystem.
- Nutrient Rich: It provides essential nutrients that aid in shrimp development and overall tank health.
Soil Layering Technique
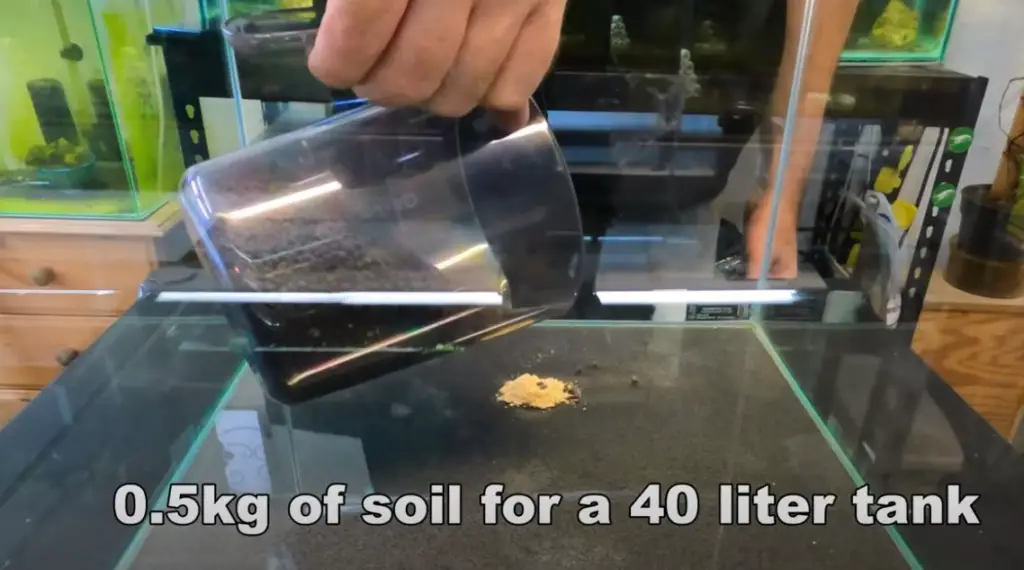
After laying down the rice bran, add 500g of ADA Amazonia soil. The technique here is crucial:
Layering Steps
- Even Distribution: Spread the soil evenly over the rice bran to ensure a uniform base.
- Optional Sloping: While a back slope is not necessary, it can be aesthetically pleasing and aid in viewing the shrimp.

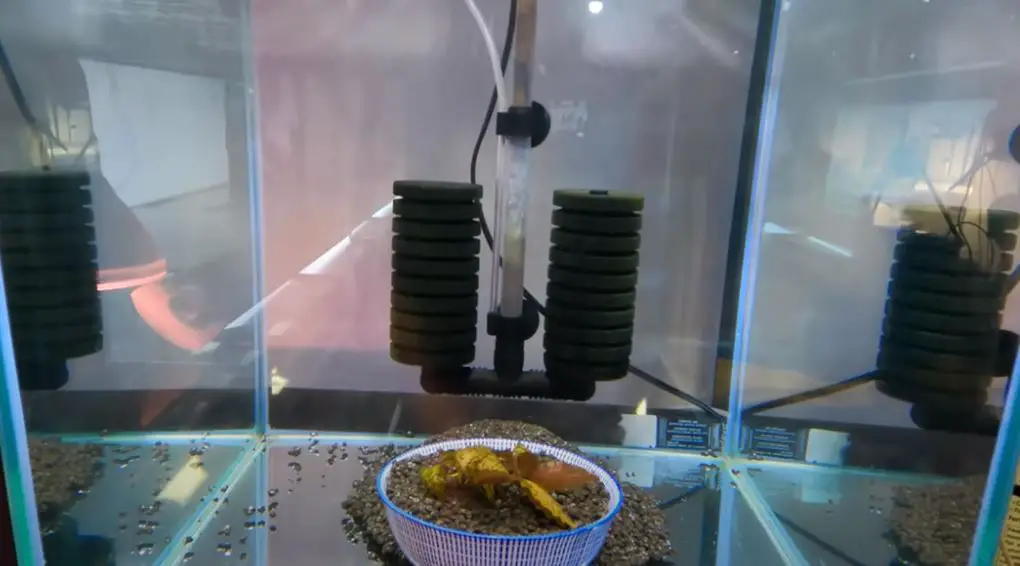
Filtration Setup
A double sponge filter is ideal for this setup. It’s effective yet gentle, ensuring the delicate balance of the tank is not disturbed.
Filtration Tips
- Proper Placement: The filter should touch the tank’s bottom, with the top just above the water line.
- Gentle Filtration: This method avoids disturbing the substrate while ensuring adequate filtration.

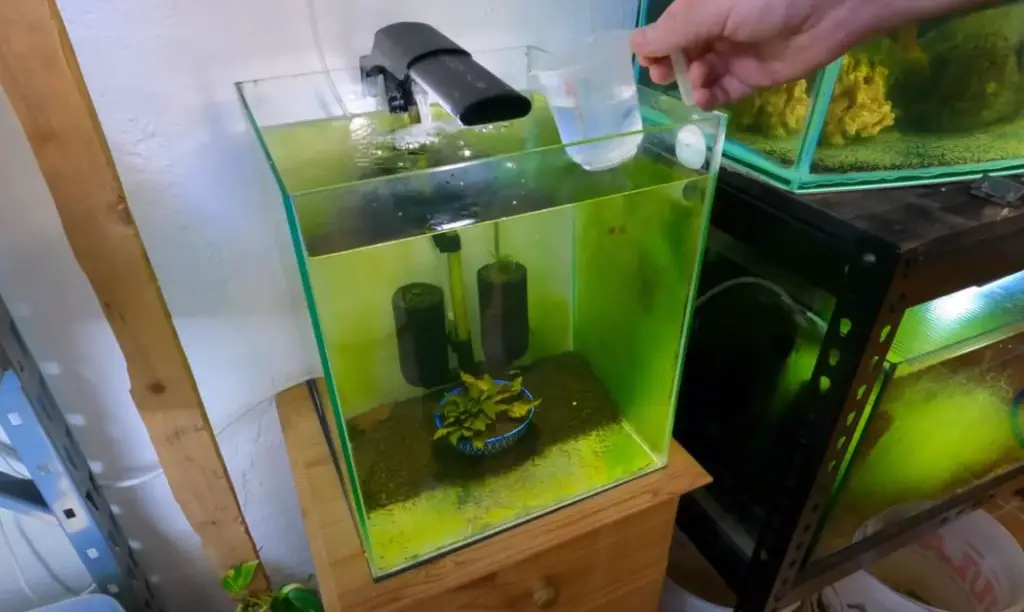
Water Addition Strategy
Carefully add water to the tank to maintain the integrity of the substrate layers. Use a dispersing technique to prevent soil disturbance.
Techniques for Adding Water
- Dispersing Method: Use an old soil bag to gently distribute the water across the tank’s surface.
- Gradual Filling: Fill the tank slowly to avoid disrupting the rice bran and soil layers.
Lighting and Plant Introduction
Choose a lighting system that promotes plant growth and install it before filling the tank to ease the process and reduce glare.
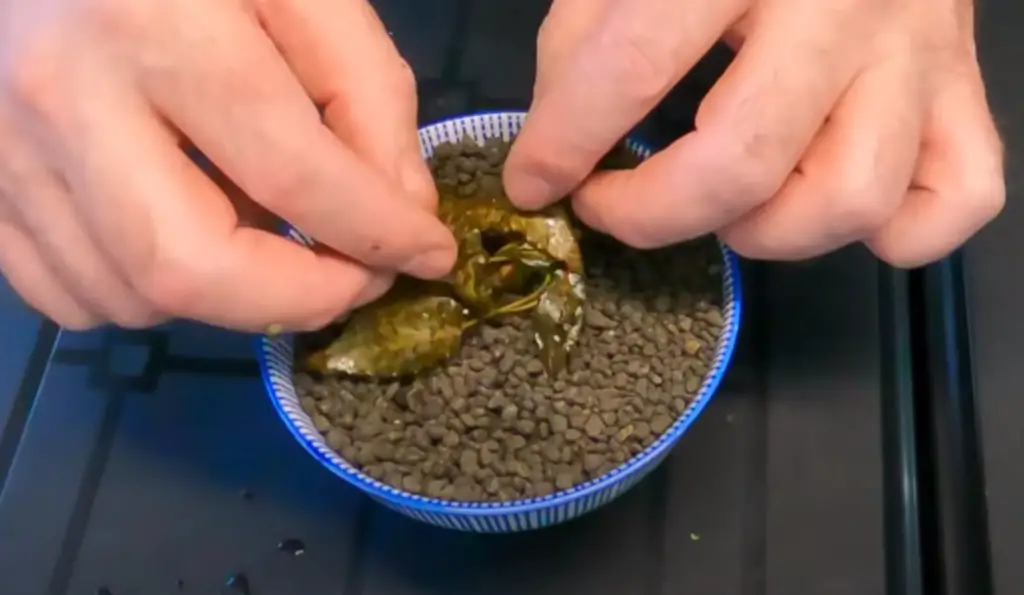
Planting Cryptocoryne nurii ‘Pink’
This plant adds beauty and functionality to the tank. The planting process is delicate:
- Careful Handling: Avoid damaging the plant’s leaves while planting.
- Root Placement: Use forceps to place the roots deep into the soil, ensuring the plant’s stability and growth.
Understanding the Tank’s Dynamics
Over time, the tank will evolve into a thriving ecosystem. The glass will become covered in biofilm, essential for shrimp health.
Biofilm Development
- Importance of Biofilm: This layer serves as a primary food source and habitat for shrimp.
- Observing Growth: Monitor the development of biofilm as an indicator of a healthy tank environment.
Introducing Shrimp
Adding shrimp should be done thoughtfully. Allow the tank to stabilize for at least a week, and then introduce shrimp gradually.
Guidelines for Shrimp Introduction
- Post Setup Waiting Period: Observe the tank for one week before adding shrimp.
- Water Change and Stabilization: Perform a substantial water change and wait a few days to ensure stable conditions.
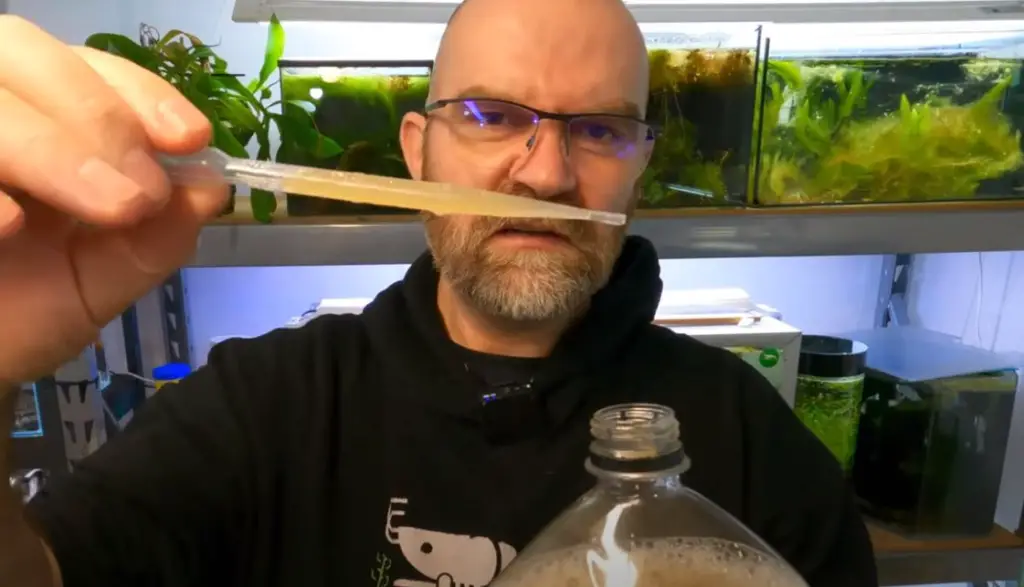
Adding Homemade Probiotics
Incorporate homemade Lactobacillus probiotics, such as Rice Lactobacillus, to enhance tank health. For a 40-liter tank, add 3ml directly into the water after water changes.
Probiotic Benefits
- Improved Water Quality: These probiotics aid in breaking down organic waste, leading to clearer water.
- Enhanced Shrimp Health: They contribute to a balanced microbial environment, crucial for shrimp health.
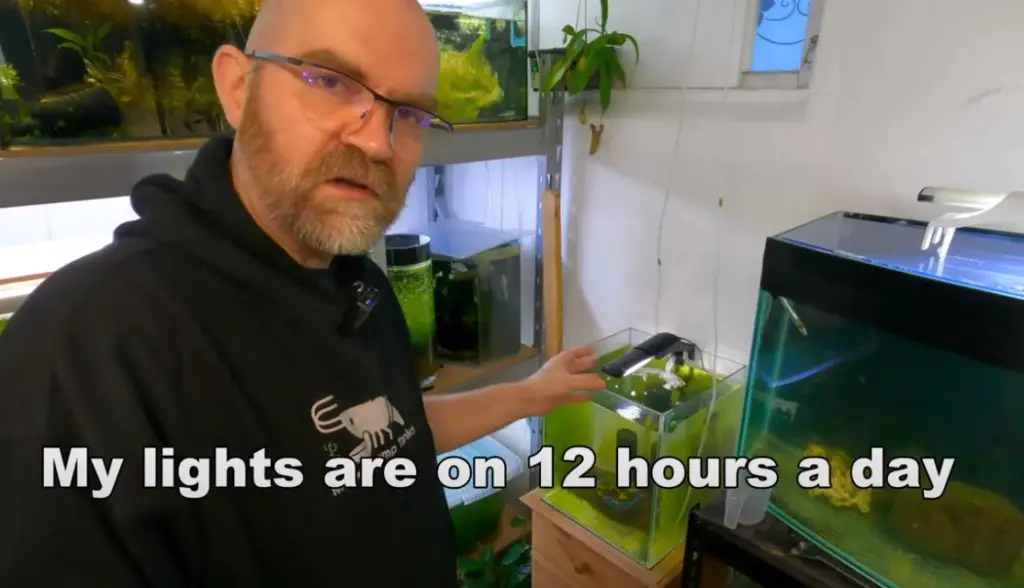
Lighting and Maintenance Considerations
Proper lighting is essential for maintaining a healthy ecosystem. Keep the lights on for extended periods (10-16 hours a day) to encourage the growth of green walls.
Maintenance Tips
- Minimal Water Changes: Perform small water changes (5-10% biweekly) to maintain soil quality and tank stability.
- Long-Term Soil Life: Proper maintenance can extend the soil’s life, which is crucial for continuous shrimp breeding.
Conclusion
By following this detailed guide, you will create a stable, productive environment for your Bee shrimp. This setup promotes a balanced ecosystem, essential for shrimp health and breeding. It’s ideal for both enthusiasts and professional breeders, offering ease of maintenance and effectiveness in shrimp keeping.
Here is a link to the original video that I made for this topic.
Happy Shrimp Keeping
Mark