I. Introduction
How to know when and how often to change water in cherry shrimp tank? Maintaining a healthy and thriving aquarium requires careful attention to water quality. One of the most critical tasks in aquarium maintenance is performing water changes, which involve removing a portion of the old water and replacing it with fresh, clean water. Water changes help to remove harmful toxins, excess nutrients, and other contaminants that can accumulate in the aquarium over time.
However, it can be challenging to determine exactly when to do a water change. While some aquarium owners may opt for a regular water change schedule, others may prefer to test their water parameters and adjust their water changes accordingly. Additionally, some aquarists may use conductivity or Total Dissolved Solids (TDS) testing as a guide for when to do water changes.
In this article, we will discuss the different methods for determining when to do water changes in an aquarium, including regular water changes, testing water parameters, and using conductivity and TDS testing. We will also provide tips and advice on performing successful water changes and maintaining a healthy aquarium. With this knowledge, you will be better equipped to keep your aquarium in excellent condition and ensure the well-being of your aquatic pets.
II. Regular water changes
One of the simplest and most effective methods for determining when to do a water change is to establish a regular water change schedule. Regular water changes help to maintain consistent water quality and remove excess nutrients that can contribute to algae growth and other issues. The frequency and percentage of water changes will depend on the size of the aquarium and the number and size of the fish and other inhabitants.
For small aquariums, a 10-20% water change every one to two weeks is typically sufficient. Larger aquariums may require more frequent water changes of 20-25% every one to two weeks. It is essential to ensure that the new water added to the aquarium is of the same temperature and pH as the existing water to avoid shocking the fish and other inhabitants.
When performing a water change, it is essential to use a siphon to remove the old water from the aquarium while minimizing disturbance to the substrate. Careful siphoning helps to remove debris and other contaminants from the substrate, which can improve water quality and reduce the frequency of water changes. Additionally, it is important to avoid overfeeding the fish and shrimp and other inhabitants, as excess food can contribute to excess nutrients in the water.
Regular water changes can be an effective way to maintain a healthy and stable aquarium. However, other factors such as overstocking, inadequate filtration, and lack of maintenance can still cause water quality issues. Therefore, it is essential to monitor the aquarium regularly and adjust water change frequency as needed based on the overall health and appearance of the aquarium.
III. Testing parameters
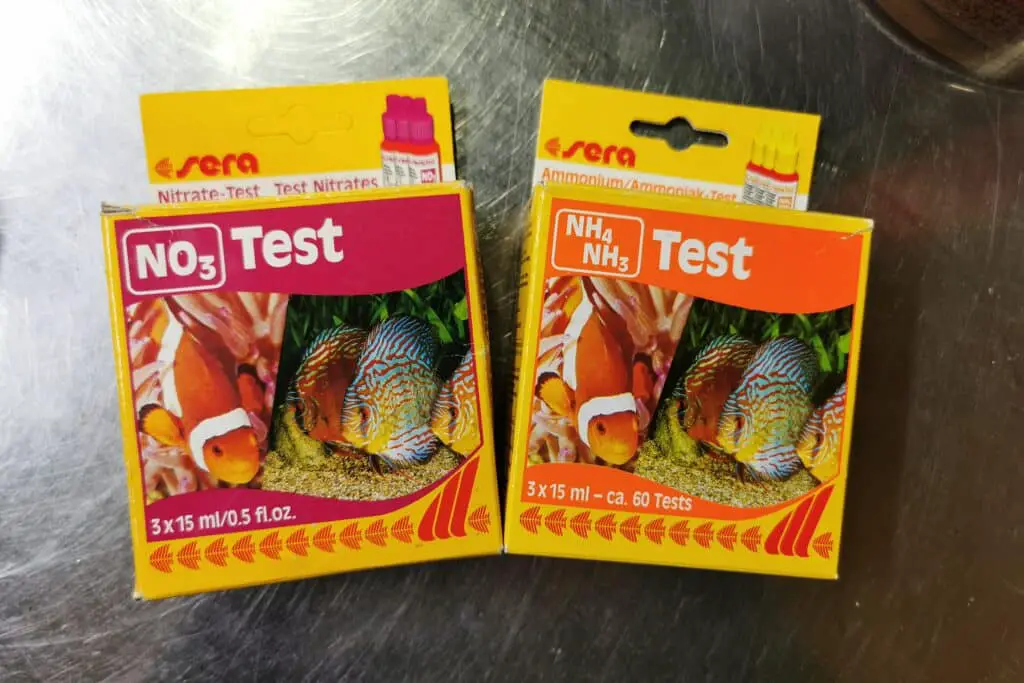
While regular water changes can help to maintain consistent water quality, testing water parameters can provide a more precise and scientific approach to determining when to do a water change. Testing water parameters involves using specialized test kits to measure various chemical and biological parameters in the water, including ammonia, nitrite, nitrate, pH, and others.
Testing water parameters can help to identify imbalances and fluctuations in the water chemistry that could indicate a need for a water change. For example, elevated levels of ammonia and nitrite can indicate a cycle that is not yet established or one that has been disrupted. High levels of nitrate can contribute to algae growth and other issues, and a low pH can be stressful for some fish and other inhabitants.
The frequency of testing water parameters will depend on the age of the aquarium and the overall stability of the water chemistry. Newly established aquariums may require more frequent testing, while older, more stable aquariums may only require periodic testing. However, it is important to monitor the water parameters regularly to catch any imbalances early and avoid more significant issues.
When testing water parameters, it is important to follow the instructions carefully and use high-quality test kits. Test results should be interpreted based on the recommended ranges for each parameter and adjusted as needed with appropriate water changes or other treatments. Over time, consistent testing and adjustments can help to maintain optimal water quality and support a healthy and thriving aquarium.

IV. Conductivity testing
Conductivity testing is another method for determining when to do a water change in an aquarium. Conductivity is a measure of the water’s ability to conduct electricity, which is influenced by the concentration of dissolved salts and other minerals in the water. As such, conductivity testing can provide a general indication of the total dissolved solids (TDS) in the water, which can influence water quality.
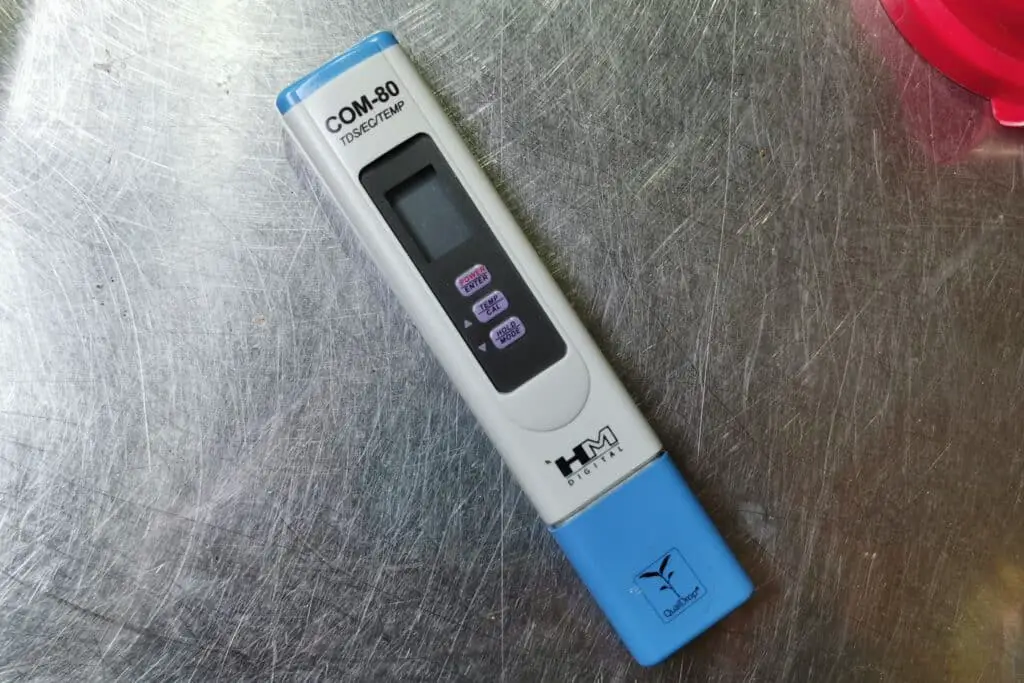
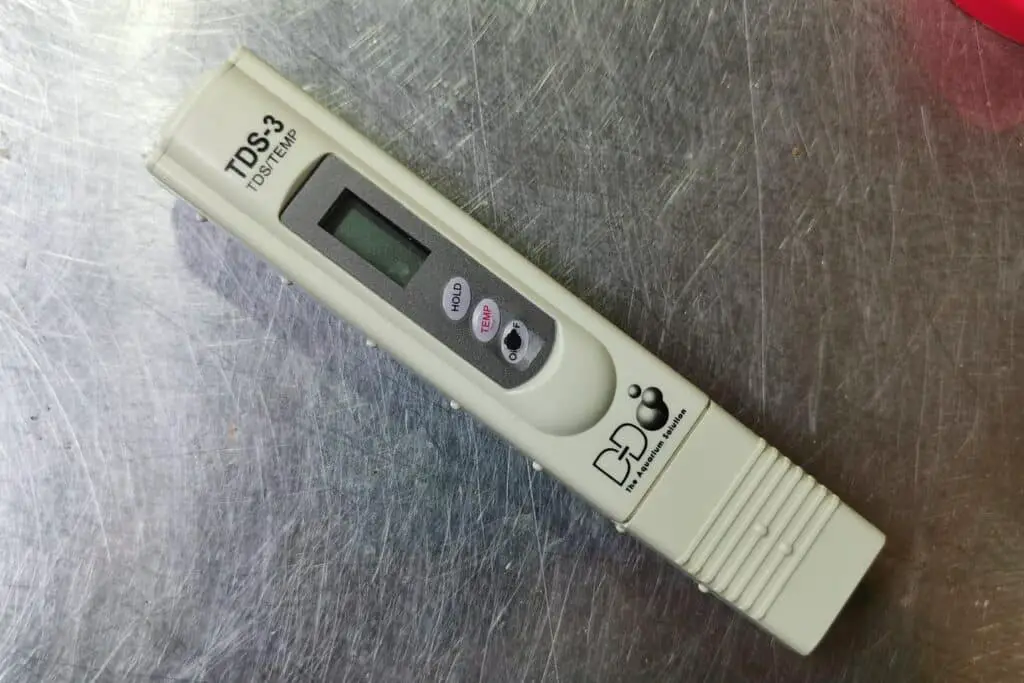
Conductivity testing involves using a conductivity meter to measure the electrical conductivity of the water. Conductivity meters can be purchased at most aquarium stores or online, and are relatively easy to use. To perform a conductivity test, the meter is calibrated using a standard solution, and then the meter is dipped into the aquarium water to obtain a reading. The reading is then compared to a range of values to determine the level of conductivity in the water.
Conductivity levels can vary depending on the source of the water and the overall water chemistry. In general, freshwater aquariums should have a conductivity level between 100-400 µS/cm, while saltwater aquariums should have a conductivity level between 35-45 ppt. If the conductivity level is outside of the recommended range, a water change may be necessary to restore the appropriate balance of dissolved solids in the water.
It is important to note that conductivity testing provides a general indication of the water quality, and does not provide specific information about individual water parameters such as pH, ammonia, or nitrate. Therefore, it is important to use conductivity testing in conjunction with other methods, such as regular water changes and testing water parameters, to ensure optimal water quality and maintain a healthy and thriving aquarium.

V. Total Dissolved Solids (TDS) testing
Total Dissolved Solids (TDS) testing is another method for determining when to do a water change in an aquarium. TDS is a measure of the total concentration of all dissolved solids in the water, including minerals, salts, and other compounds. TDS testing can provide a general indication of the water quality and the overall concentration of dissolved substances in the water.
TDS testing involves using a TDS meter to measure the concentration of dissolved solids in the water. TDS meters can be purchased at most aquarium stores or online and are relatively easy to use. To perform a TDS test, the meter is calibrated using a standard solution, and then the meter is dipped into the aquarium water to obtain a reading. The reading is then compared to a range of values to determine the level of TDS in the water.
TDS levels can vary depending on the source of the water and the overall water chemistry. In general, freshwater aquariums should have a TDS level between 200-500 ppm, while saltwater aquariums should have a TDS level between 35-45 ppt. If the TDS level is outside of the recommended range, a water change may be necessary to restore the appropriate balance of dissolved solids in the water.
It is important to note that TDS testing provides a general indication of the water quality, and does not provide specific information about individual water parameters such as pH, ammonia, or nitrate. Therefore, it is important to use TDS testing in conjunction with other methods, such as regular water changes and testing water parameters, to ensure optimal water quality and maintain a healthy and thriving aquarium.

VI. Other signs that a water change is needed
In addition to regular water changes and testing water parameters, there are other signs that can indicate a need for a water change in an aquarium. These signs can include visual cues such as cloudy water, excessive algae growth, and foul odors.
Cloudy water can indicate a bacterial bloom, an algae bloom, or a lack of proper filtration. In some cases, a water change may be necessary to remove excess nutrients and restore clarity to the water. Excessive algae growth can be a sign of excess nutrients in the water, and may require a water change to restore the proper nutrient balance. Foul odors can indicate an excess of organic matter in the water, which can be removed with a water change.
Other signs that a water change may be necessary include changes in fish behavior, such as lethargy or loss of appetite, or the appearance of unhealthy or stressed fish. These signs may indicate a more significant water quality issue that requires immediate attention, such as high levels of ammonia or nitrite in the water.
It is essential to monitor the aquarium regularly and address any signs of poor water quality promptly to maintain a healthy and thriving aquarium. While regular water changes and testing water parameters can help to prevent these issues, it is important to stay vigilant and adjust water change frequency or other maintenance practices as needed to maintain optimal water quality.
VII. Equipment and Tools for Water Changes
To perform a water change in a cherry shrimp tank effectively, it’s essential to have the right equipment and tools. Here’s a list of items you’ll need:
- Siphon or gravel vacuum: This tool helps remove old water from the tank while cleaning the substrate, removing debris, and reducing the accumulation of harmful substances.
- Bucket: A clean, dedicated bucket for aquarium use is necessary for transferring old water out of the tank and bringing fresh water in.
- Water conditioner: A water conditioner or dechlorinator
 is essential for treating tap water to remove chlorine, chloramine, and other harmful substances before adding it to the tank.
 - Thermometer
 : A thermometer is useful for measuring the temperature of the new water to ensure it matches the temperature of the tank, preventing temperature shock for the shrimp.
 - Heater (optional): A heater may be needed to adjust the temperature of the new water if it’s too cold compared to the tank water.
VIII. Step-by-Step Guide for Performing a Water Change in a Cherry Shrimp Tank
- Prepare fresh water: Fill your clean bucket with tap water
 and treat it with a water conditioner to remove chlorine, chloramine, and other harmful substances. Adjust the temperature of the new water to match the tank’s temperature, using a heater if necessary.
 - Turn off equipment: Temporarily turn off any aquarium equipment, such as filters and heaters, to prevent damage or malfunctions during the water change.
- Siphon old water: Using a siphon or gravel vacuum, begin removing a portion of the old water from the tank. Simultaneously, clean the substrate by gently stirring the gravel vacuum into the substrate to remove debris.
- Remove the old water: Remove the desired percentage of water from the tank, typically 10-20% for cherry shrimp tanks. Be careful not to siphon out any shrimp.
- Add fresh water: Slowly pour the prepared fresh water into the tank, ideally using a gentle method to avoid disturbing the shrimp and substrate. You can use a small cup or bowl to scoop water from the bucket and pour it into the tank.
- Restart equipment: Once the water change is complete, turn your aquarium equipment back on and check to ensure everything is functioning properly.
- Monitor water parameters: After the water change, test the water parameters to ensure they are within the appropriate range for cherry shrimp. Adjust as necessary.
IX. The Importance of Water Conditioners
Water conditioners, also known as dechlorinators, play a crucial role in ensuring the safety of your cherry shrimp during water changes. Tap water often contains chlorine, chloramine, and other substances that can be harmful or even lethal to shrimp.
Water conditioners work by neutralizing these harmful substances, making the tap water safe for your shrimp. Before adding any new water to your tank during a water change, it’s essential to treat the water with a water conditioner following the manufacturer’s instructions. This will help protect your shrimp from harmful chemicals and maintain a healthy environment in the tank.
X. Conclusion
Maintaining a healthy and thriving aquarium requires careful attention to water quality. While there are several methods for determining when to do a water change, the most effective approach will depend on the age and size of the aquarium, the number and size of the fish and other inhabitants, and the overall water chemistry.
Regular water changes can help to maintain consistent water quality and remove excess nutrients that can contribute to algae growth and other issues. Testing water parameters, including conductivity and TDS, can provide a more precise and scientific approach to determining when to do a water change. Other signs, such as cloudy water, excessive algae growth, and foul odors, can also indicate a need for a water change.
By combining these methods and staying vigilant in monitoring the aquarium, you can maintain optimal water quality and ensure the well-being of your aquatic pets. With regular maintenance and proper care, your aquarium can be a beautiful and thriving ecosystem that you can enjoy for years to come.

XI.FAQ Section
Q: How often should I do a water change in my aquarium? A: The frequency of water changes will depend on the size of the aquarium, the number and size of the fish and other inhabitants, and the overall water chemistry. As a general rule, small aquariums may require a 10-20% water change every one to two weeks, while larger aquariums may require a 20-25% water change every one to two weeks. However, it is essential to monitor the aquarium regularly and adjust the water change frequency as needed based on the overall health and appearance of the aquarium.
Q: How do I test water parameters in my aquarium? A: Testing water parameters involves using specialized test kits to measure various chemical and biological parameters in the water, including ammonia, nitrite, nitrate, pH, and others. Test kits can be purchased at most aquarium stores or online, and instructions for use can be found on the packaging or the manufacturer’s website.
Q: Do I need to use a conductivity or TDS meter to maintain a healthy aquarium? A: While conductivity and TDS testing can be useful in determining when to do a water change, they are not essential for maintaining a healthy aquarium. Regular water changes and testing water parameters are generally sufficient to maintain optimal water quality. Conductivity and TDS testing can provide additional information and help to identify imbalances in the water chemistry that may require attention.
Q: Can I use tap water for my aquarium? A: Tap water can be used for aquariums, but it may contain chlorine, chloramine, and other chemicals that can be harmful to fish and other inhabitants. Before adding tap water to your aquarium, it is important to use a water conditioner to neutralize any harmful chemicals. Additionally, if your tap water has high levels of minerals or other substances, it may be necessary to use a water treatment system to remove these contaminants.
Q: How do I know if my water change was successful? A: The success of a water change can be determined by monitoring the aquarium’s water parameters, as well as the overall health and appearance of the fish and other inhabitants. Following a water change, it is essential to test the water parameters to ensure that they are within the appropriate ranges. Additionally, monitoring the fish and other inhabitants for signs of stress or illness can indicate the effectiveness of the water change. Over time, consistent maintenance and water changes can help to maintain a healthy and thriving aquarium.
